
The search playbattlesquare set up automatic farm minecraft looks like someone hunting for a specific blog’s guide to automatic farms — so let us clear up two things first. One: PlayBattleSquare (playbattlesquare.com) is a gaming blog, not a game or a server network, and this site (contactplaybattlesquare.com) is a separate, unaffiliated blog. Two: whatever guide you were looking for, the actual knowledge — how to set up an automatic farm in Minecraft — is right here, in full, step by step.
Automatic farms are the backbone of every serious Minecraft world: they harvest crops while you sleep, stockpile building materials while you explore, and turn tedious grinding into a chest full of free resources. This guide covers the three classic starter farms — the villager-powered crop farm, the observer-and-piston bamboo/sugarcane farm, and the zero-redstone cactus farm — plus the collection systems, materials lists, and mistakes that make or break every build.
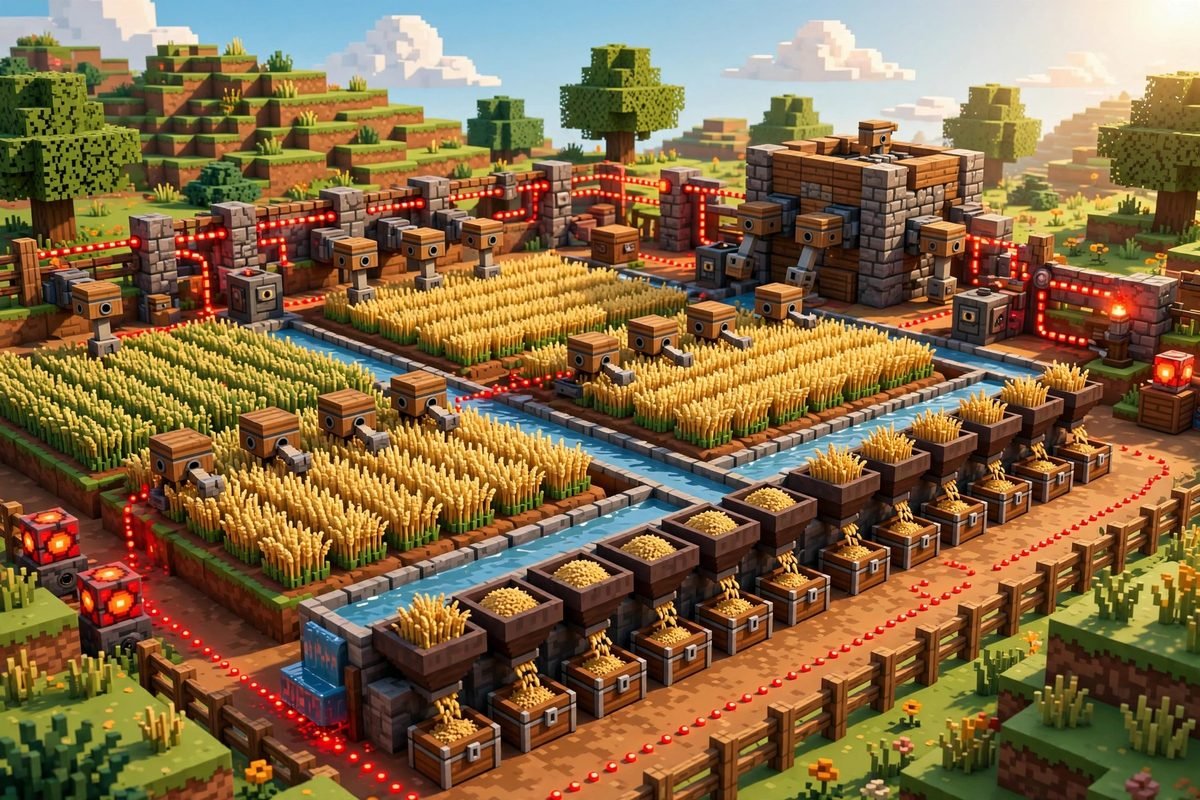
What “Automatic” Actually Means in Minecraft Farms
Before building, understand the three levels of farm automation, because guides (and search results) use the word loosely:
- Semi-automatic: You plant, the farm harvests. Most piston-based farms work this way — you replant sugarcane or restock as needed.
- Fully automatic: Planting, growing, harvesting, and collection all happen without you. The villager crop farm is the classic example: the villager replants every harvest forever.
- AFK farms: Farms that only work while you stand nearby (mob farms, fishing farms). They are “automatic” in operation but require your presence to keep chunks loaded.
The farms in this guide are the first two kinds — true set-and-forget builds. You will still need to be in the area for crops to grow (plants only tick in loaded chunks), but you never have to touch the harvest yourself.
Farm 1: The Villager-Powered Automatic Crop Farm
This is the most beloved automatic farm in Minecraft: a villager farmer who plants, tends, and harvests wheat, carrots, or potatoes forever, while a hidden hopper system steals a share of every harvest into your chests. It is fully automatic, cheap to build, and works in both Java and Bedrock.
Materials
- Dirt and a hoe (for a 9×9 farmland plot)
- 1 water bucket
- 1 composter
- Building blocks and fences for walls (about 2 stacks)
- 3+ hoppers and 1 double chest
- Torches or lanterns for lighting
- 1 villager, plus a way to transport them (boat, rails, or a lot of patience)
- Seeds of your chosen crop (wheat seeds, carrots, or potatoes)
Step-by-step build
- Till a 9×9 plot. Hoe dirt or grass into farmland in a 9×9 square.
- Water the center. Break the center block of the plot and fill it with water — one water source hydrates the whole 9×9.
- Place the composter. Put a composter directly over the central water block. This is the key: the composter turns your villager into a farmer, and farmers compulsively harvest ripe crops and replant.
- Wall it in. Build walls at least 2 blocks high around the plot so the villager cannot wander off.
- Build the collection trench. On one side, dig a trench leading away from the farm: at the end place a double chest, then run 3 hoppers from the farm edge into the chest. Hoppers pull items through the wall.
- Add the villager chamber. Build a small roofed chamber against the gap in the wall with an awning overhead, leaving the farm-facing side open. The classic trick: place a fence at ground level in the gap and a trapdoor under the awning — the villager can toss harvested crops through, but cannot escape.
- Move the villager in and plant. Get your villager into the farm area, throw them a stack of seeds, and watch them start working. Light the interior with torches so crops grow at night.
How it works: the farmer villager harvests ripe crops and tries to share food with other villagers — but there are none, so the thrown items land in the hopper trench instead. You get a steady stream of wheat, carrots, or potatoes with zero effort. One farm feeds a whole multiplayer server.
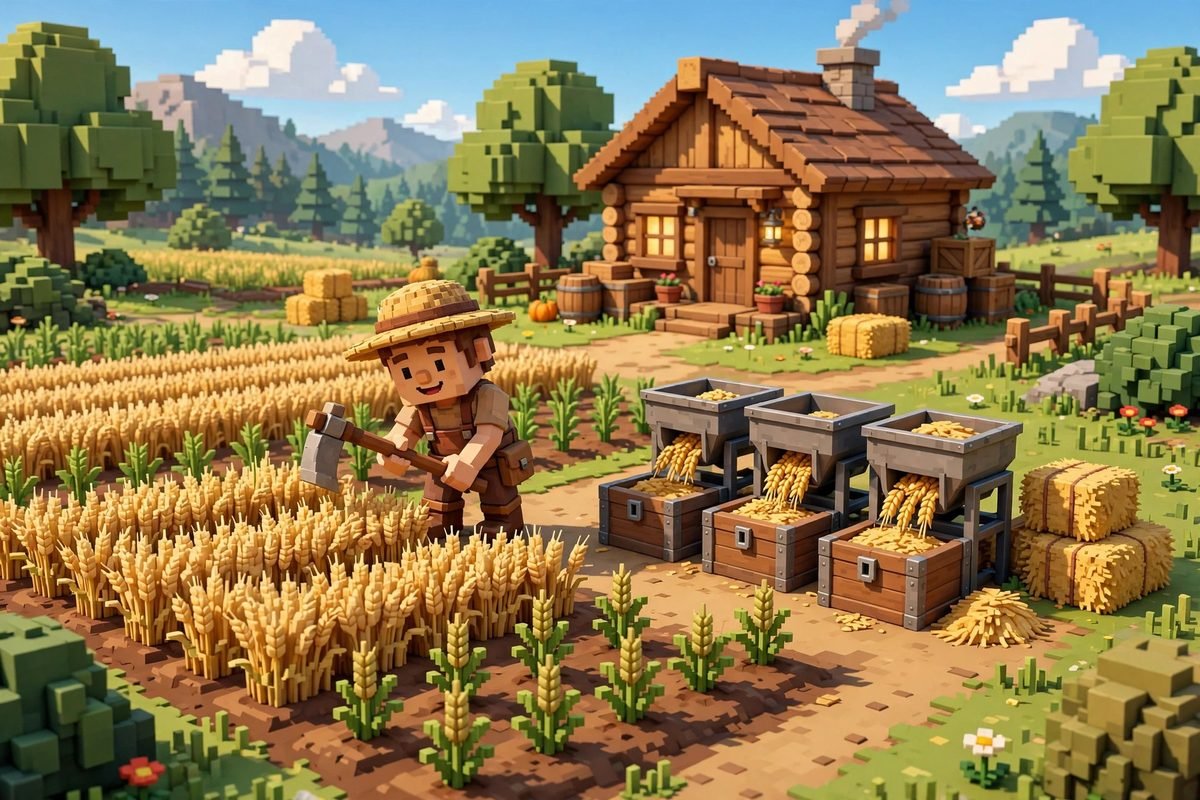
Farm 2: Observer-and-Piston Bamboo & Sugarcane Farm
For stackable plants like bamboo and sugarcane, the design is beautifully simple: an observer watches the plant, and when it grows, the observer fires a piston that breaks the upper segments. The drops fall into a water stream or hopper line below.
How it works
- Planting row: A row of dirt, sand, or grass with bamboo or sugarcane planted (sugarcane needs adjacent water).
- Observers: Placed facing the second block of the plant — when the plant grows into that space, the observer detects the block change.
- Pistons: Positioned to push into the plant’s upper segment when the observer pulses. The broken pieces drop as items.
- Collection: Hoppers under the row, or a water stream carrying drops to a single hopper-and-chest endpoint.
- Redstone: A short dust trail from each observer to its piston. Keep the circuit compact — one pulse per growth event, not a feedback loop.
Build one module first and test it before expanding. Trigger the observer manually and confirm the piston breaks the right segment. Then copy the working module along the row — ten modules produce more bamboo than you will ever use, and bamboo is excellent furnace fuel and scaffolding material.
Original tip: build your sugarcane farm directly above your enchanting setup. Sugarcane becomes paper, paper becomes books, books become bookshelves — and a farm that feeds your enchanting table passively is one of the most satisfying automation loops in the game.
Farm 3: The Zero-Redstone Automatic Cactus Farm
Cactus is the easiest automatic farm in Minecraft because cactus breaks itself: a cactus block pops off as an item whenever anything solid sits adjacent to it above the base. No observers, no pistons, no redstone — just clever geometry.
The classic design
- Dig a pit (a 7×9 area, 2 deep works well) and line the sides with solid blocks.
- Place sand blocks in a row along the pit, with solid blocks positioned diagonally above each sand block — close enough to break grown cactus, far enough to let it grow one segment.
- Plant cactus on the sand.
- Run water through the pit so broken cactus pieces float toward a collection point with hoppers and a chest.
- Roof it over to stop mobs spawning inside.
When each cactus grows tall enough to touch the adjacent block, the new segment pops off and rides the water to your chest. It is slow but utterly free — cactus is green dye, and a big enough farm dyes every build you will ever make.
Collection and Storage: The Part Everyone Forgets
A farm without collection is just a mess. Every automatic farm needs three things:
- A capture method: Hoppers under the farm, or water streams funneling drops to one point. Test with thrown items before waiting for real harvests.
- Storage with headroom: Do not attach a single chest to a farm you will AFK near for hours — items despawn after 5 minutes on the ground, and a full chest means lost harvest. Use double chests, and for big farms, a shulker-box loader or overflow into a second chest.
- Chunk loading awareness: Crops only grow in loaded chunks. Your farm does nothing while you are exploring three thousand blocks away. Build farms near your base or use chunk loaders where your version supports them.
Common Automatic Farm Mistakes
- Forgetting light. Crops need light level 9+ to grow. An unlit farm stalls every night — a ring of torches is the cheapest fix in the game.
- Villager escapes. Villagers are escape artists. Walls 2 high minimum, no gaps, and never open the chamber while standing inside it.
- Observer feedback loops. If your piston’s movement re-triggers the observer, you get an infinite clock that burns out your redstone and harvests nothing. Keep circuits one-directional.
- Wrong plant, wrong farm. The villager design works for wheat, carrots, potatoes, and beetroot — not for bamboo or cactus. Match the mechanic to the crop.
- Building too far from home. A farm outside your loaded chunks is decoration. Keep farms within your base’s activity radius.
- No overflow handling. The first time your chest fills and a thousand wheat despawns on the ground, you will wish you had built the second chest.
Set Up Automatic Farm Minecraft FAQ
What is the easiest automatic farm in Minecraft?
The cactus farm — it needs no redstone at all, just sand, water, and clever block placement. For food, the villager crop farm is the easiest fully automatic option.
Do automatic farms work in Bedrock?
Yes. The villager crop farm, observer-piston farms, and cactus farms all work in Bedrock, though villager mechanics have small edition differences worth testing.
How do you get a villager into the farm?
Boats work on land in a pinch (push the boat with the villager inside), or use minecart rails for longer distances. Cure a zombie villager near the farm for the most convenient source.
Why isn’t my villager farming?
Three usual causes: no composter (the villager is not a farmer), insufficient light (crops will not grow), or the villager’s inventory is full of the wrong crop. Give them the seeds you want planted.
Can you make an automatic farm without redstone?
Yes — the villager crop farm uses no redstone, and the cactus farm uses none either. Observer-piston farms need only minimal redstone dust.
What does PlayBattleSquare have to do with Minecraft farms?
Nothing mechanical — PlayBattleSquare is a gaming blog, not a game. The search phrase looks like someone looking for that blog’s take on farm guides; this article covers the topic in full regardless of which blog you found it through.
Conclusion
Whether your search was playbattlesquare set up automatic farm minecraft or just “how do I stop harvesting wheat by hand,” the answer is the same: build the villager farm for food, the observer farm for bamboo and sugarcane, and the cactus pit for dye — then let the hoppers do the work while you go adventuring. Automation is not about being lazy; it is about spending your playtime on the parts of Minecraft you actually enjoy.
For more build tutorials and mechanics deep-dives, see Minecraft Wiki’s tutorials hub. And since every farm starts at a workbench, our crafting table guide covers the block you will use more than any other.
Pingback: Erica Stoll: Biography, Age, Career & Life with Rory McIlroy